
This article is aimed at outdoor photographers, hikers, and backpackers who miss out on Milky Way photos because their desire to sleep is often greater than their desire to wake up (or stay up) and click the camera shutter at some forsaken time in the middle of the night or early morning.
SUMMARY
This method is basically a timelapse that gives you lots of options to play around with a single composition. An in-camera application or intervalometer can be used to automate your exposures.

Location has been scouted, tripod placement is on a durable surface, level, and just needs to be weighed down before attaching my camera.
A COMMON SCENARIO
It’s 7 PM. You arrive at your campsite after a long day of summer backpacking. Dry salt crystals stick to your shirt, feet are swollen, and your traps and hips ache from carrying more gear than the average backpacker.
The sun is quickly approaching the horizon line. You have just enough time to unpack, pitch your tent, and filter some water before you get ready for your sunset shoot and dinner. What happens next?
There’s a Milky Way composition coming up later that evening - 2 AM. You set your alarm and settle into your sleeping bag.
2 AM arrives - alarm buzzing. The air outside is frigid and bites at your face. The air in your sleeping bag, however, is warm, dry, and inviting. You hit “snooze” and go back to bed — a perfect Milky Way composition has been sacrificed for a good night’s rest — the alternative being a miserable, tired hike out the next day.
In this article, I describe a photography technique that may help you avoid missing out on Milky Way composition opportunities.
WHEN TO USE THIS TECHNIQUE
This technique is best used in wilderness areas with little to no people as it requires leaving your camera unattended for long periods of time.
EQUIPMENT NEEDED
CAMERA
TRIPOD (OPTIONAL, BUT RECOMMENDED)
WEIGHTED BAG (OPTIONAL, BUT ALSO RECOMMENDED)
INTERVALOMETER OR IN-CAMERA APPLICATION
EXTERNAL POWER SOURCE, BATTERY GRIP, OR HIGH CAPACITY CAMERA BATTERY
LENS WARMER (OPTIONAL)
SD CARD WITH LOTS OF STORAGE
BASIC STEPS
*depending on available gear, you may include or omit steps
Arrive early if possible. Scout your composition and shooting location. Favorable conditions are dry to reduce the chance of condensation. Find somewhere to keep your camera well-hidden (just in case).
Set up your tripod. This might be the most important step. Make sure your tripod is level and on a durable surface that will not allow your tripod legs to slowly sink in.
Fill a bag with sand, rocks, water, or anything else that can weigh it down. Attach this to the base of your tripod. This will help with stabilization should a gust of wind come along.
Attach your camera to your tripod. Double-check your tripod’s leg and head locking mechanisms.
Connect external power source if needed.
Connect intervalometer or open in-camera application.
Dial-in exposure and intervalometer/application settings. To shoot for the entire evening, I recommend:
EXPOSURE RECOMMENDATIONS
ISO: 3200-6400
Shutter Speed: something roughly following the 500 rule.
Aperture (f-stop): wide open, or stopped down if your lens produces lots of coma, aberration, etc. I recommend shooting with a lens that has an aperture of at least f/2.8.
White Balance: custom around 4000, but explore other options depending on your creative vision. You may also adjust the white balance during post-processing.
INTERVALOMETER/IN-CAMERA APPLICATION
Example Scenario: shooting the Milky Way from 11 PM - 3 AM.
we need to shoot for 4 hours
following the 500 rule, we can achieve a 25-second exposure without noticeable star trails.
just to be safe, we will take a new exposure every 26 seconds so there’s a 1-second delay between each separate 25-second exposure.
we can convert 4 hours to seconds and divide by 26 seconds to approximate how many total exposures we will be taking.
4 hours = 14,400 seconds/26 seconds = about 554 exposures.
make sure your SD card has enough storage for the required amount of exposures.
set your camera to take a 25-second exposure following the recommended exposure settings.
set your intervalometer/application to take a photo once every 26 seconds.
set intervalometer/application to take 554 exposures. If there’s enough room on your SD card, there’s no harm in taking more.
THE SETUP:
USING AN IM-CAMERA APPLICATION

1. Enter you camera’s menu and select applications. In this example I am using a Sony a6300. Menu navigation may differ depending on your camera model.

2. Select the time-lapse option..

3. Select custom.

4. Set your white balance to around 4000 K. Play around with this. You may prefer a different white-balance.

5. Enter the application settings to set time-lapse settings.

6. Set interval to 26 seconds. 26 second intervals will allow for a 1 second period between each 25 second exposure.

7. Set shots to around 550 (approximated earlier) so we can shoot for the entire 11 PM - 3 AM time period.

8. Set self-timer delay to 2 seconds so your camera has a small window to absorb the vibration from pressing the shutter. This means that the first exposure will start 2 seconds after the shutter has been pressed. Some photographers prefer a longer delay.

9. Finish your exposure settings with a shutter speed of around 25 seconds. Use your largest aperture if your lens does not produce much distortion. ISO can be set to 6400 or anything else that works.
USING AN INTERVALOMETER

1. Connect the trigger end of your intervalometer to your camera. Make sure both the trigger and remote are set to the same channel.

2. For a rough Milky Way exposure, follow the previously mentioned exposure settings, but change shutter-speed to BULB.

3. DELAY: 1 second. When we click play on the intervalometer, there will be a 1 second delay before your camera begins taking the exposure.

4. LONG: 25 seconds. This is how long we will expose for.

4. INTERVAL: 1 second. This is the amount of time that will pass between each 25 second exposure before the next 25 second exposure begins.
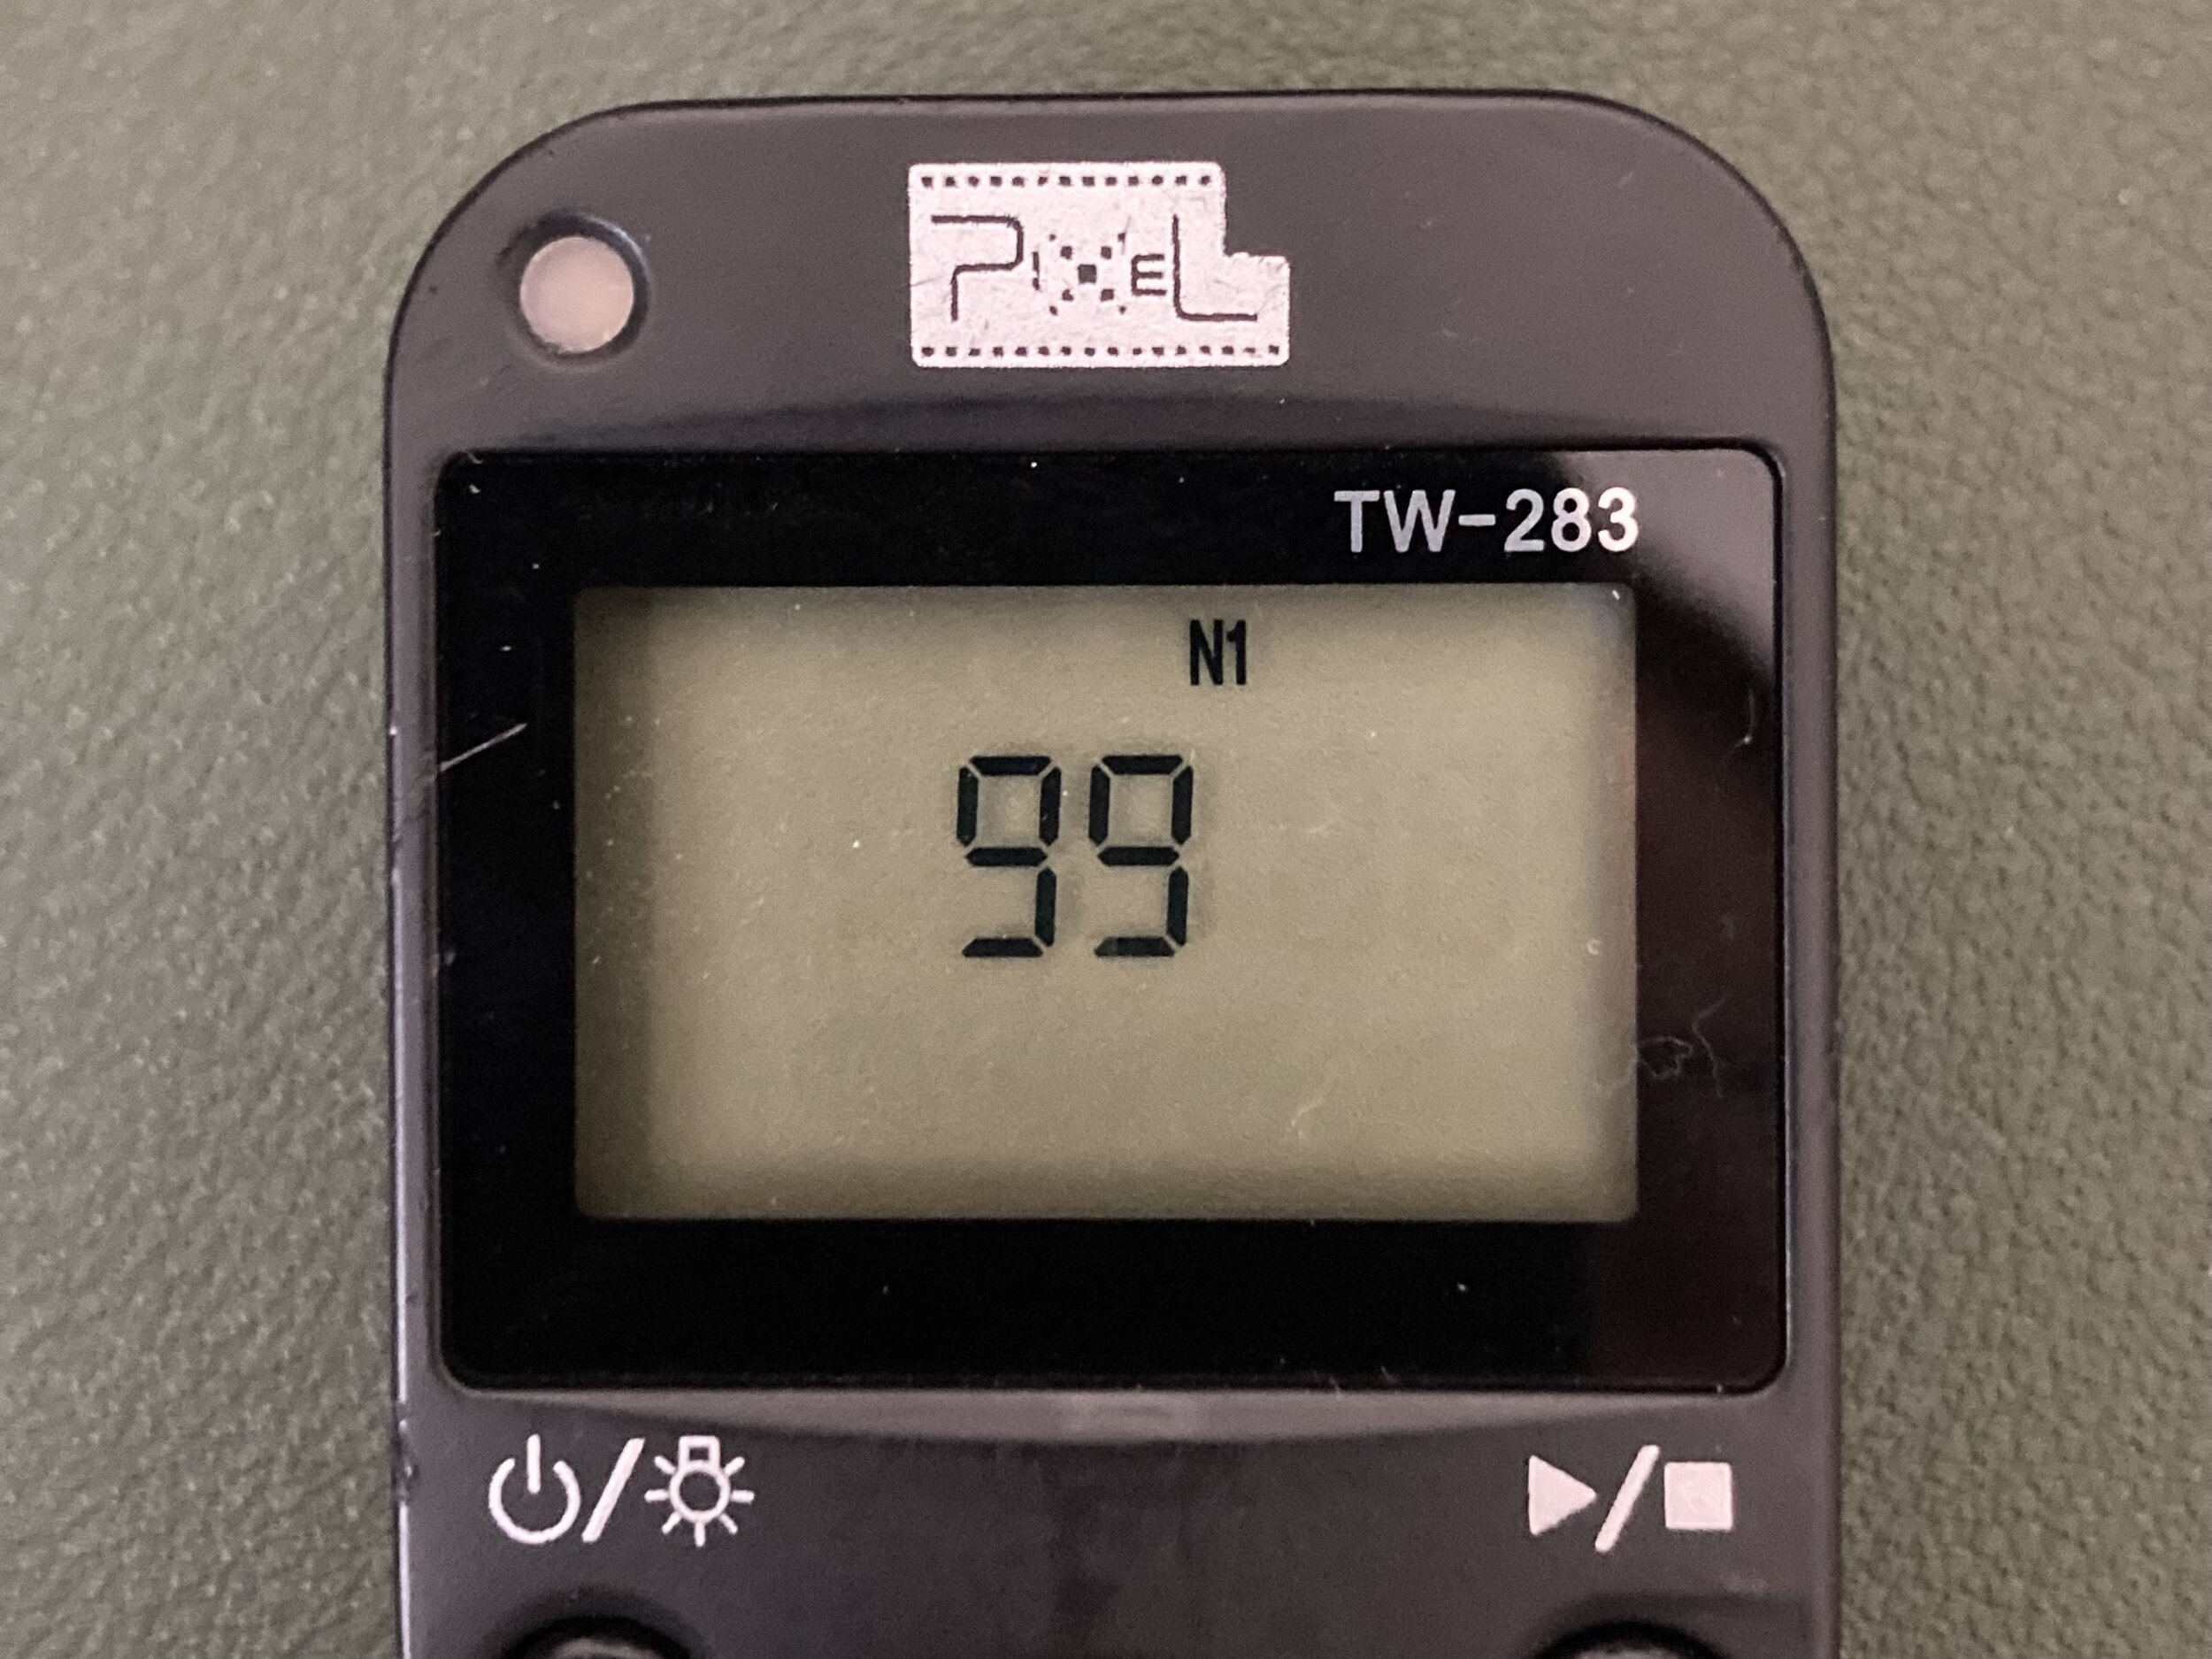
5. N1: 99. This number represents a sequence of exposures. Your intervalometer will continue to take 25 second exposures with 1 second intervals until it takes 99 of them. We need around 550 exposures so we will have to set a “repeat” and a “N2” value as well.

6. REPEAT: 1 second. This is the amount of time that will pass before the next N1 sequence will begin after all 99 exposures are taken.

7. N2: 6. This number represents the total number of N1 sequences that we will repeat. So, at the end of the timelapse we will have taken N2xN1 = 99x6 = about 600 exposures. This is close enough to our 550 number we approximated earlier.
DRAWBACKS AND LIMITATIONS
MOON: the rising/setting of the moon may interfere with your exposures. As long as there is no moon during the targeted timeframe you wish to capture the Milky Way this should not be a problem.
MOISTURE: if shooting in a humid or cold environment, moisture may accumulate on your lens and camera body. In cold environments, a lens warmer can help tremendously.
OVERHEATING: if your specific camera model is prone to overheating then this method should likely not be used.
THEFT: if there are people nearby, someone could steal your camera.
ANIMALS: if you’re in the backcountry, a large mammal MAY brush up against your camera and knock it over.
WEIGHT: since you may have to connect extra external power supplies, this can add quite a bit of weight to your backpack.
COMPOSITION LIMITATIONS: photos will be essentially limited to just one composition without the freedom to choose a panorama, or to play around with different compositions during the shooting period.
NO FIRSTHAND MILKY WAY MAGIC: in my opinion, the worst part about using this method is not being actively awake to witness the beauty and magic of seeing the Milky Way with your own eyes if you choose to sleep.
BENEFITS AND ADVANTAGES
NOISE REDUCTION: the collection of timelapse photos taken over the course of the night can be stacked to significantly reduce noise (images below).
TIMELAPSE: photos can be combined into a sequence in applications like LRTimelapse to create a video timelapse. A timelapse of 4 hours played back at 24 frames per second will give us about 23 seconds of useable footage. A timelapse of 4 hours played back at 30 frames per second will give us about 18 seconds of usable footage.
STAR TRAILS: photos can be combined in an application like StarStaX (Windows) or Starry Landscape Stacker (Mac) to create an image with long star trails (images below).
MILKY WAY COMPOSITION: since your many exposures will take photos of the Milky Way as it moves across the night sky, you will have the freedom to decide which placement works better for your composition.
SLEEP: your camera gear can be left unattended and unsupervised, so enjoy your well-earned rest.

Stacked for Noise Reduction
An image I took in Yosemite National Park with several Milky Way images stacked.

Stacked for Star Trails
Using many single exposures, I was able to stack images together for long star trails